
Ideas Are for Sharing
That is why many of my coaching, organizational support, and workshops come with resources that allow you to take the work home and do it on your own.
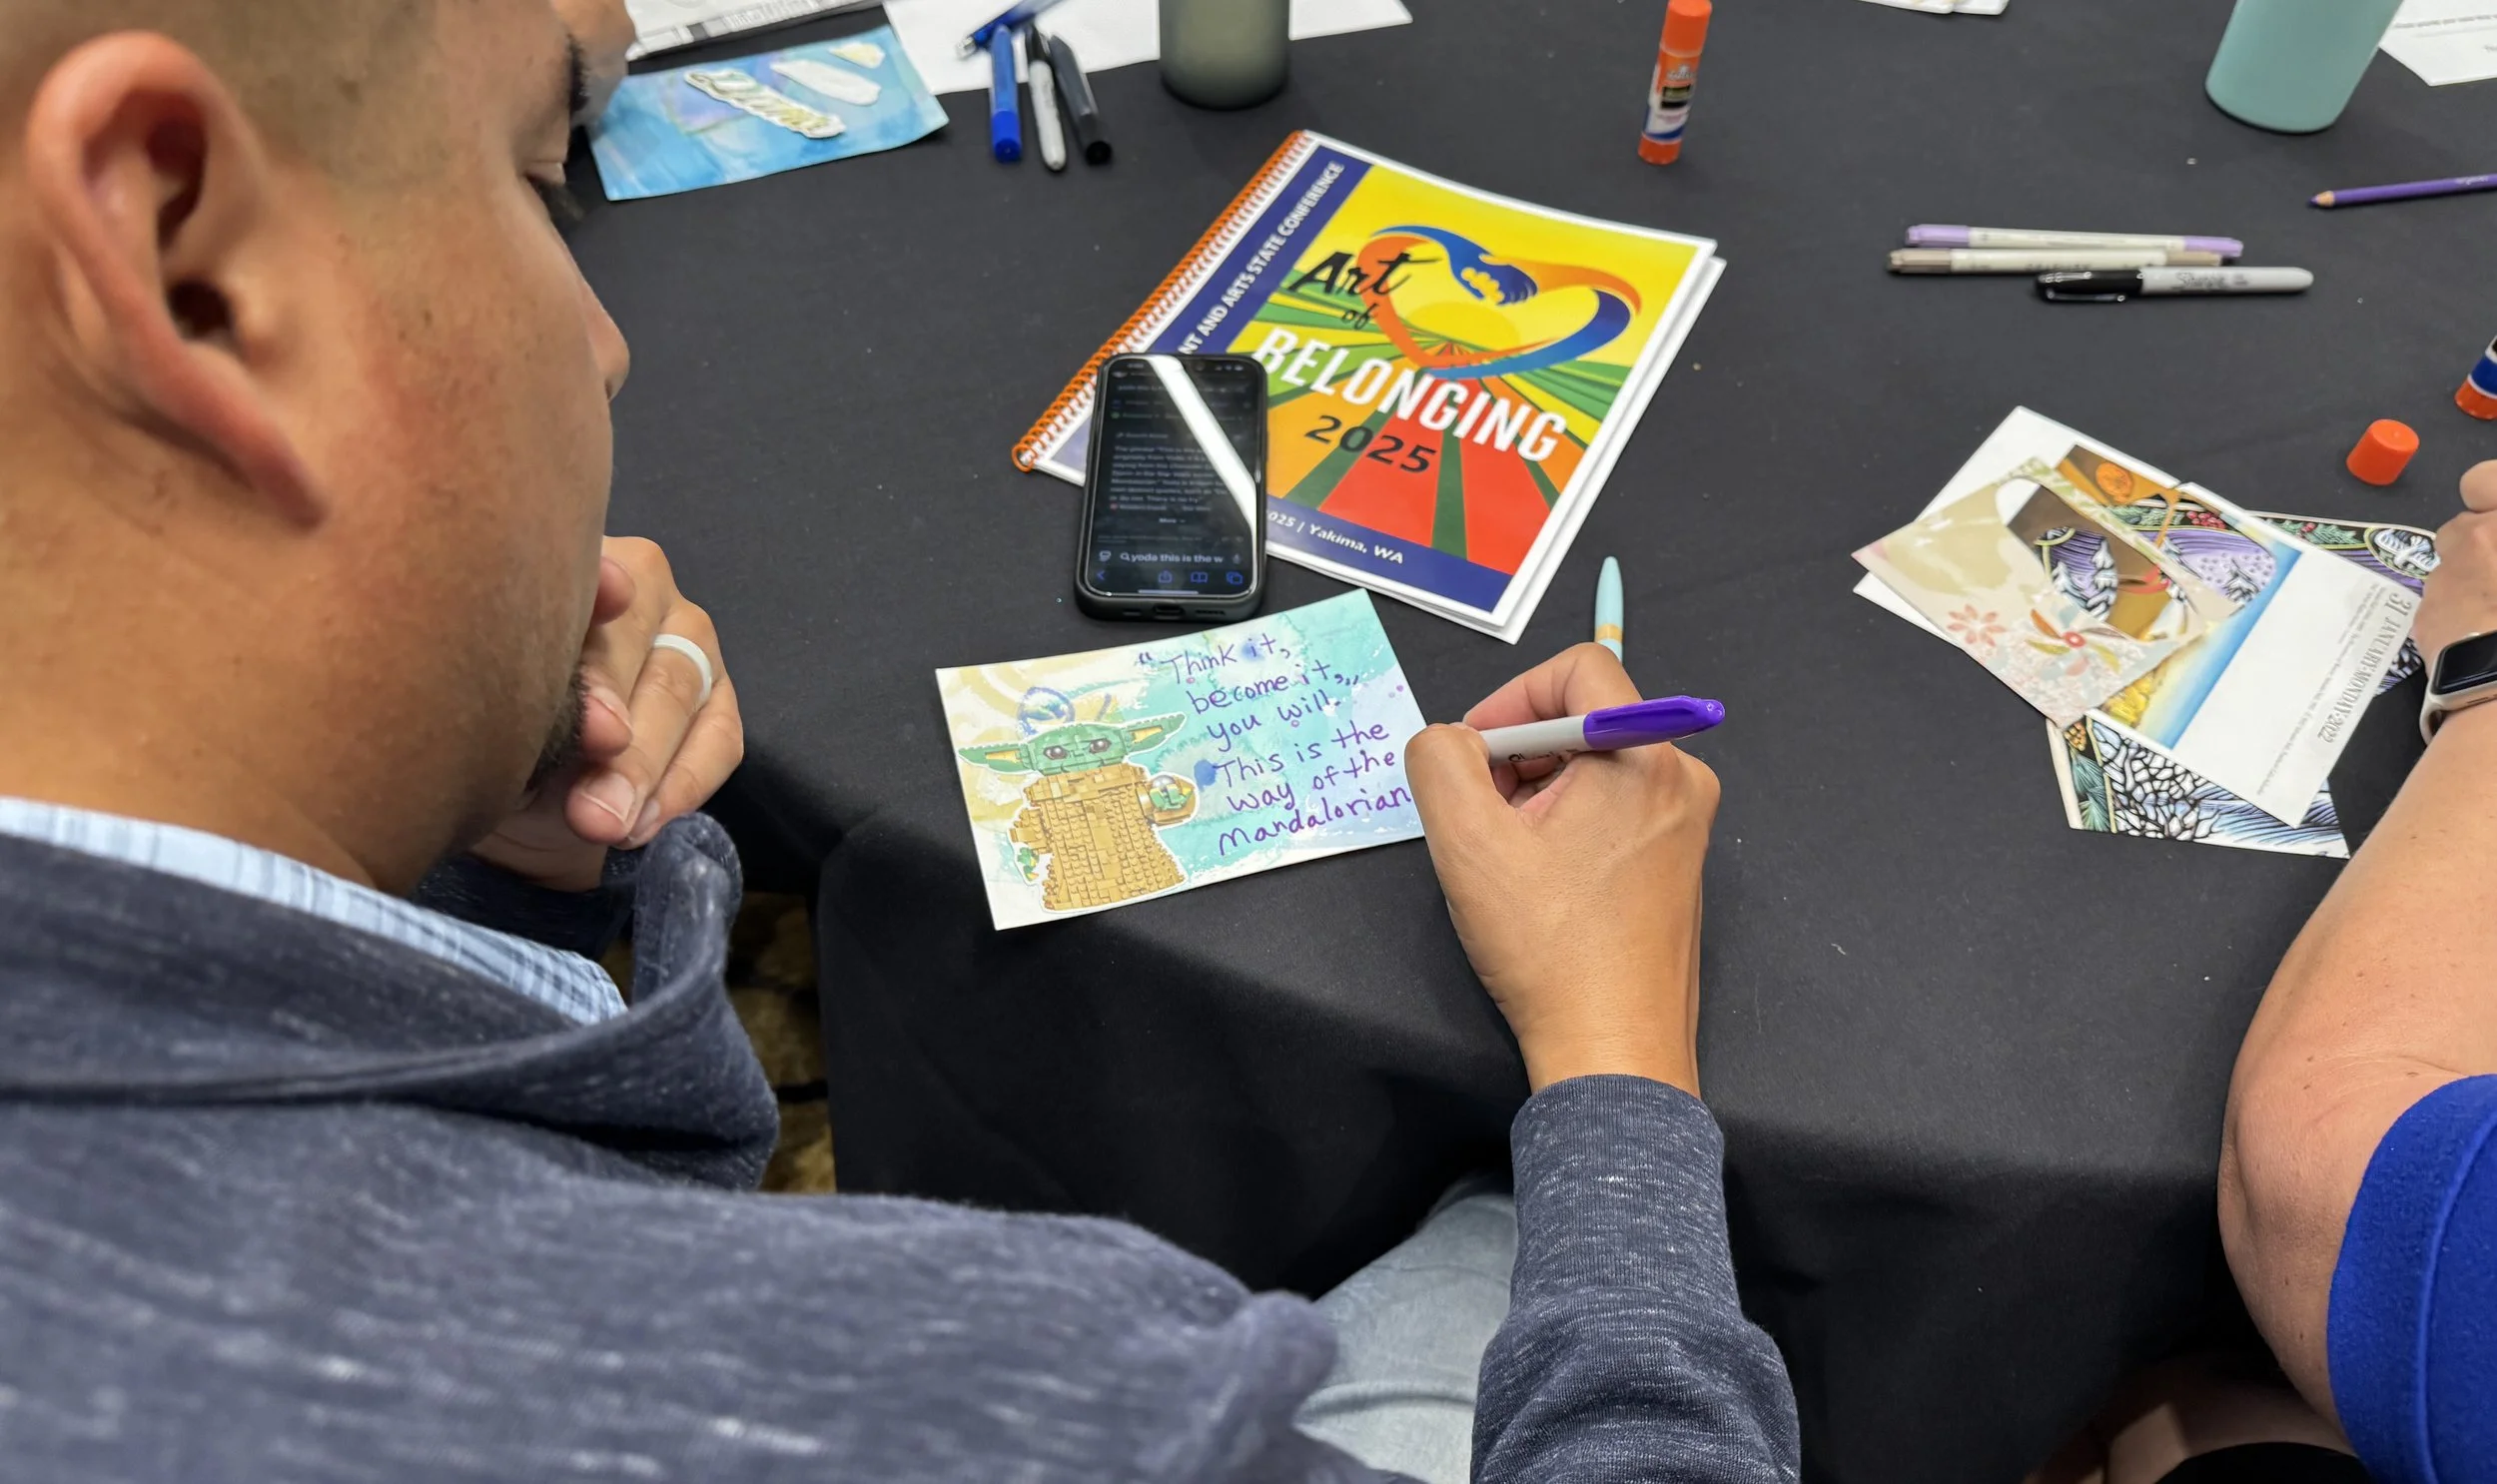
I recently facilitated a few workshops at the Art of Belonging Conference, and one of the highlights was the Collective Affirmation Deck. The session sparked so much creativity, laughter, and reflection that I wanted to go a little deeper into the lesson plan here and share some insider tips.
I will also be embedding a video where I walk through each of the key supplies you will need, so you can see exactly how to set this up.
What Is a Collective Affirmation Deck?
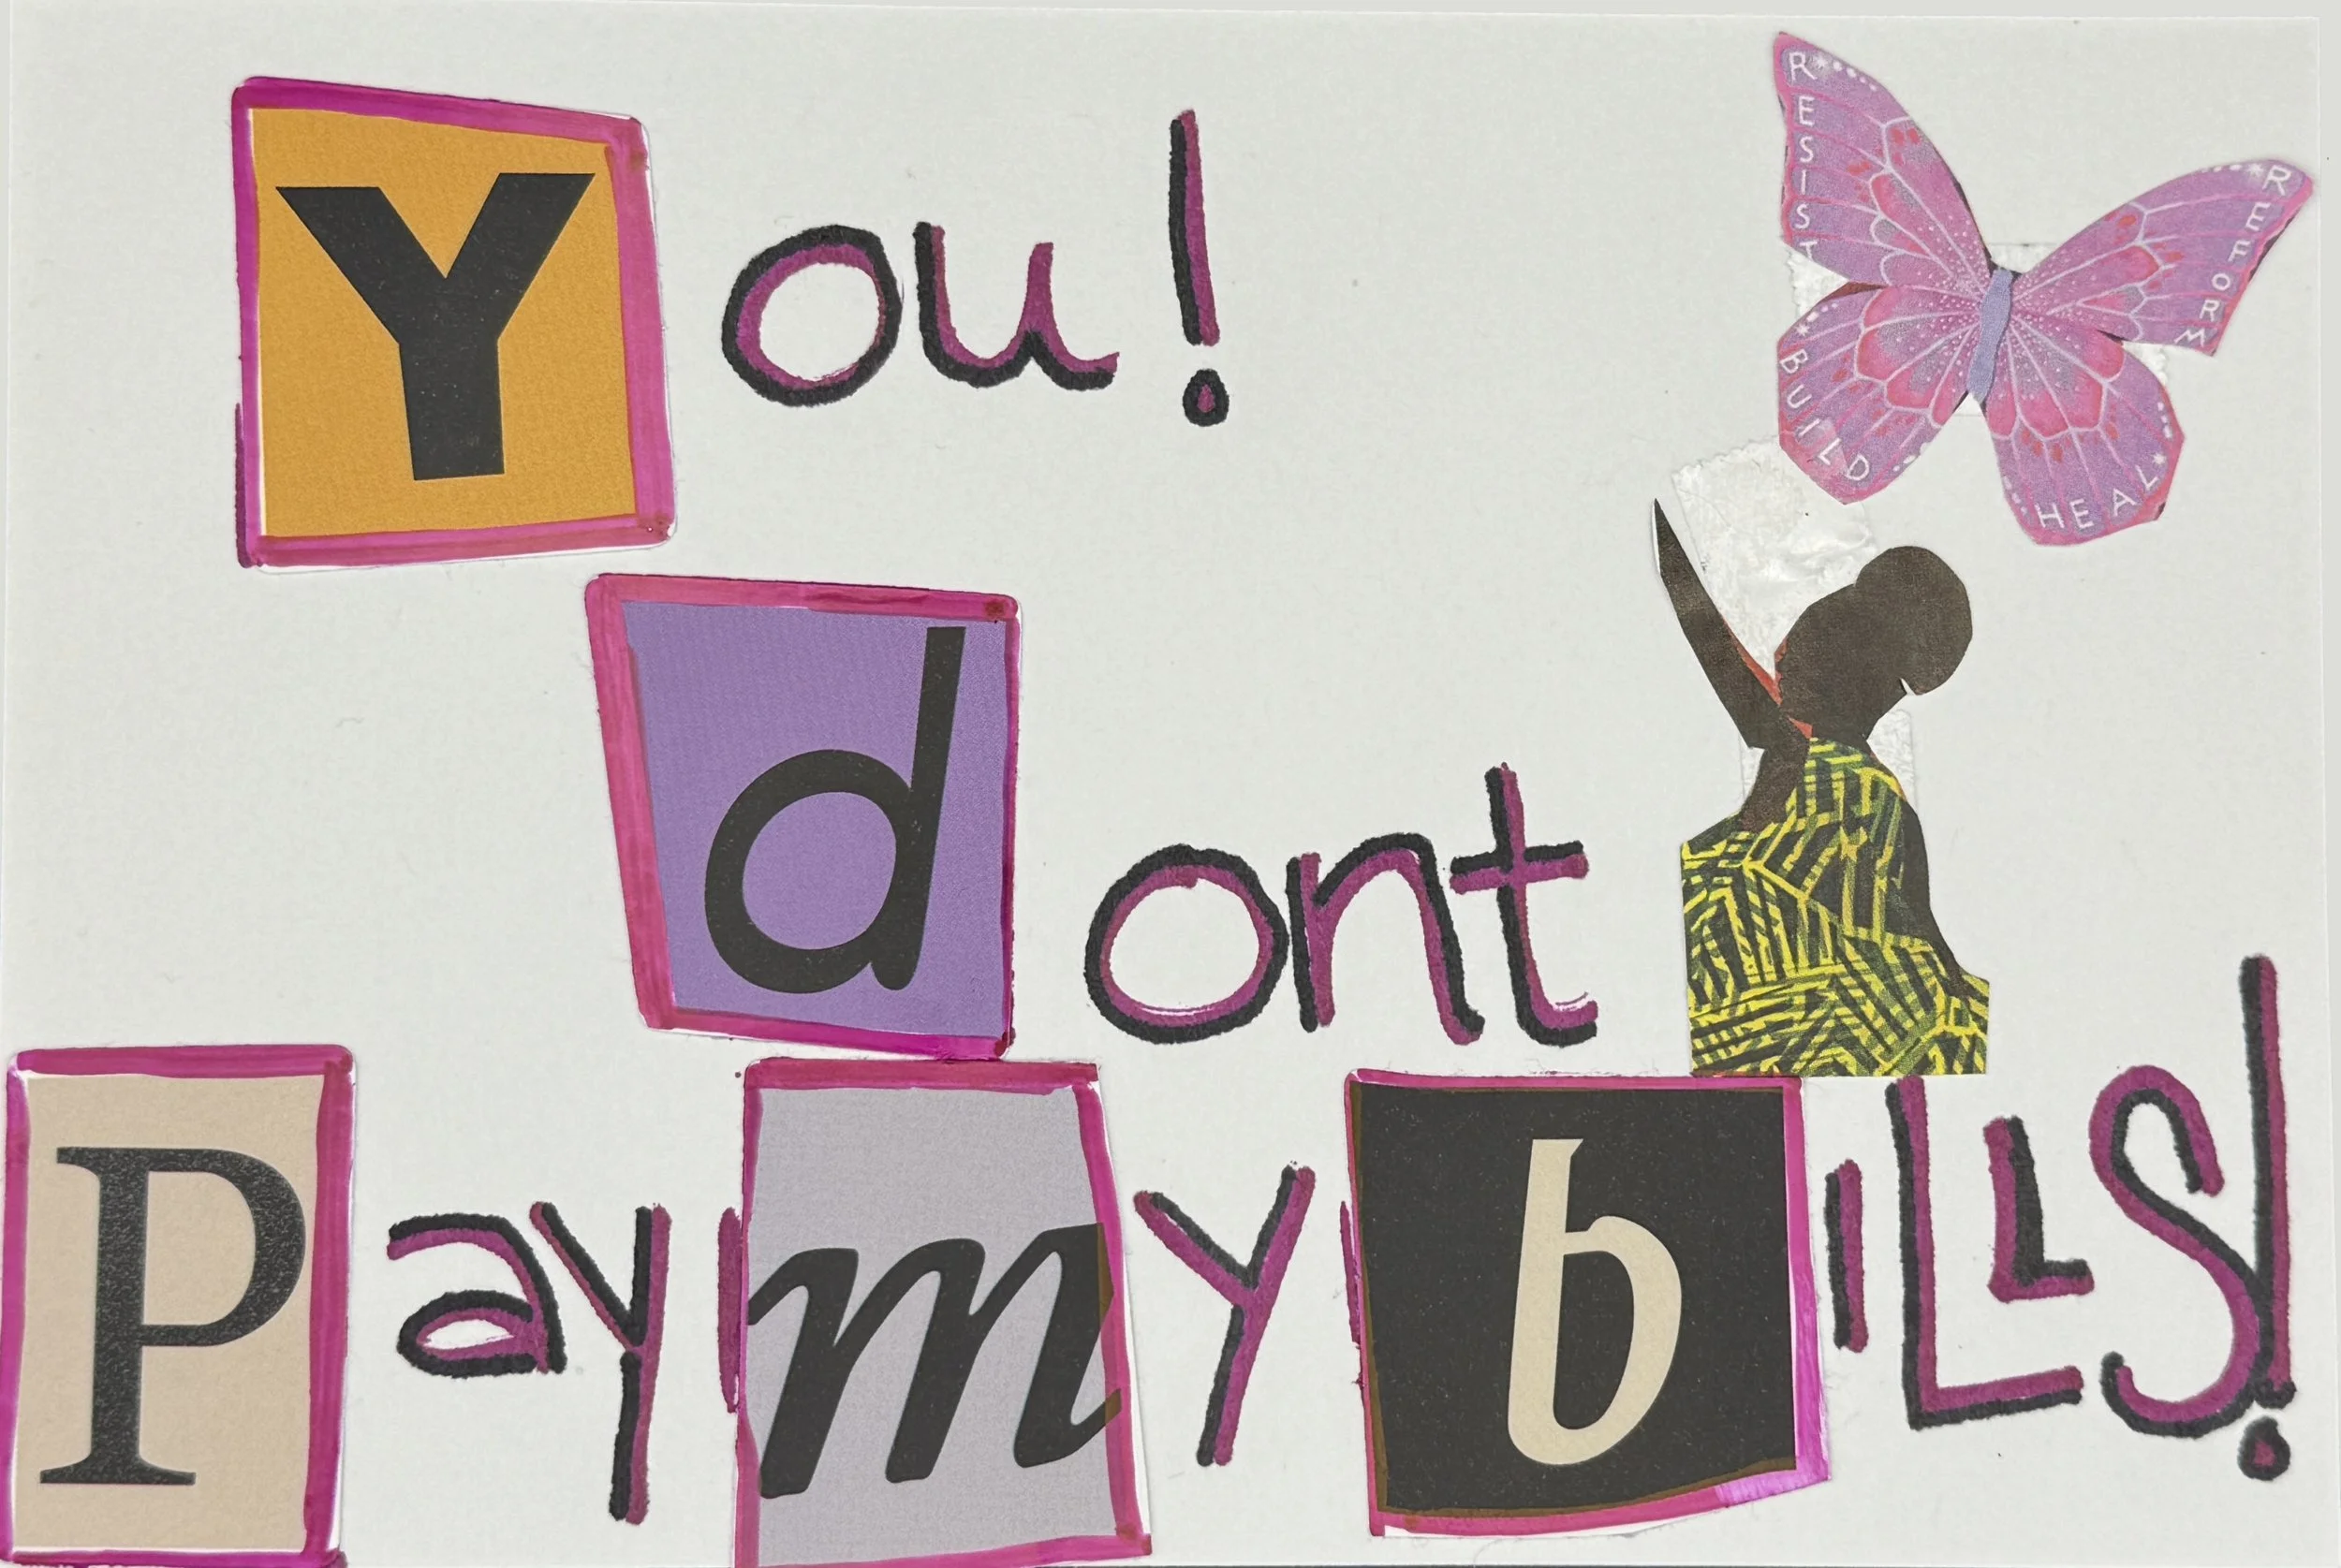
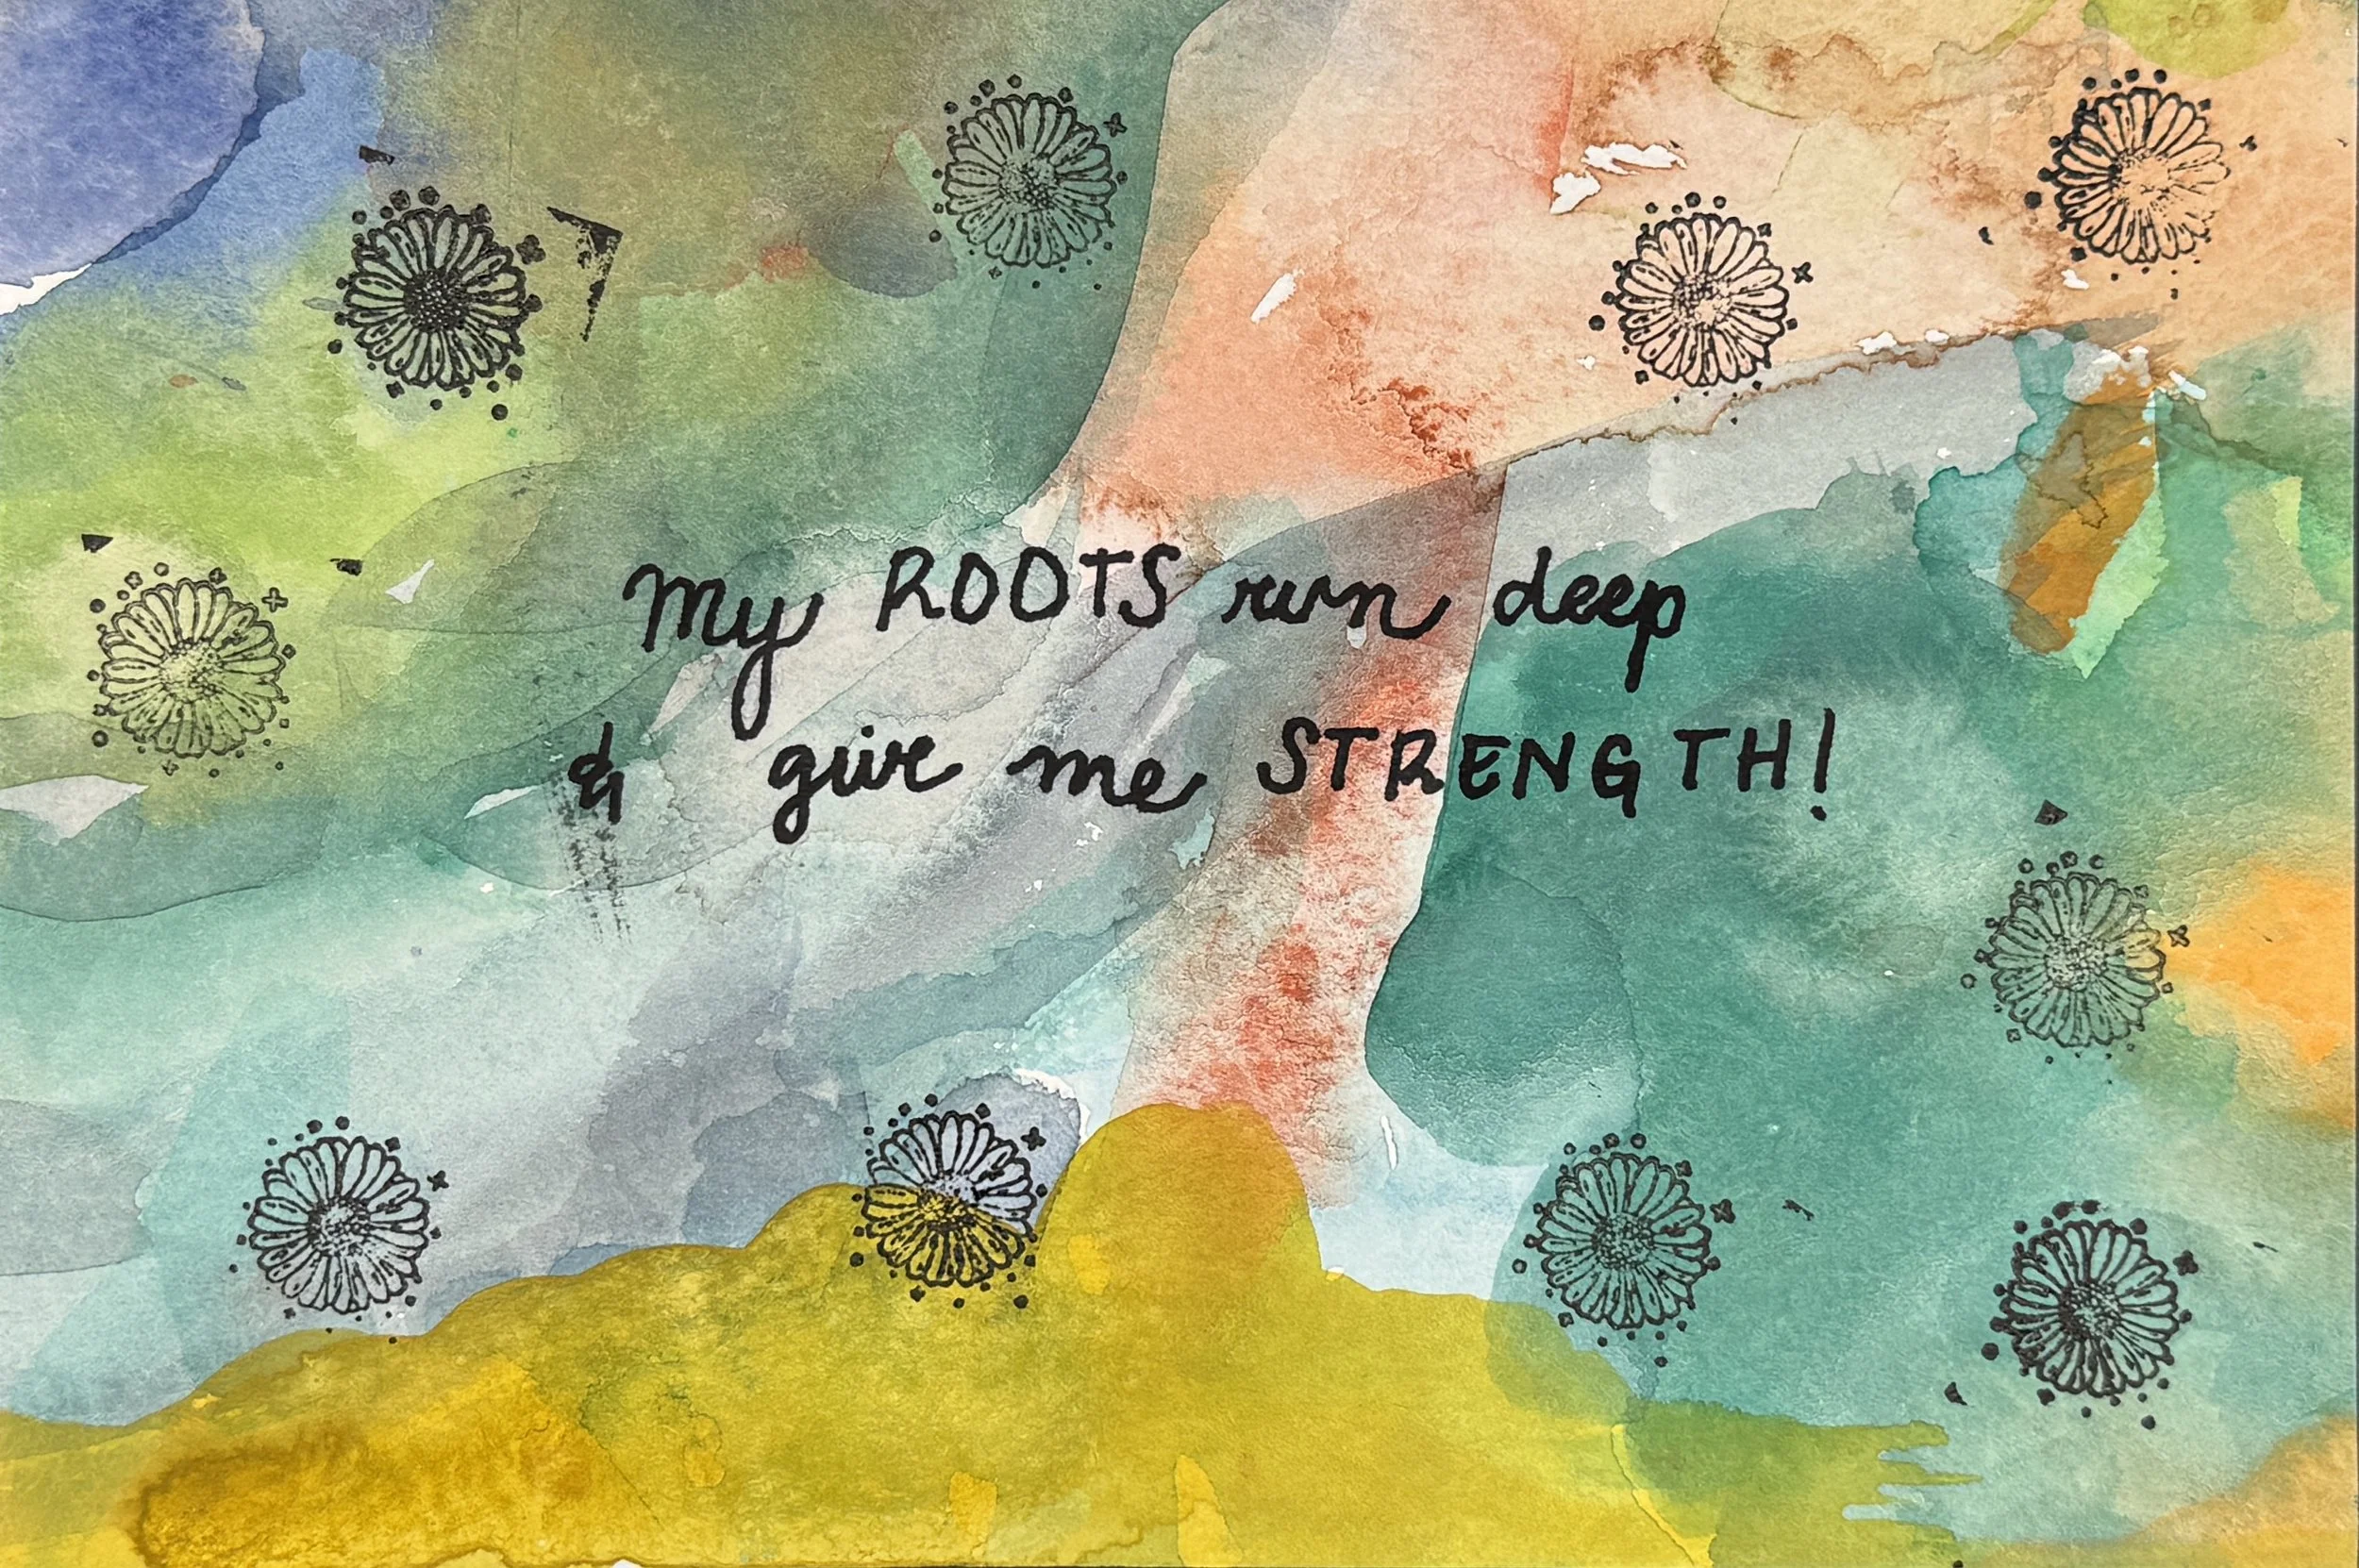
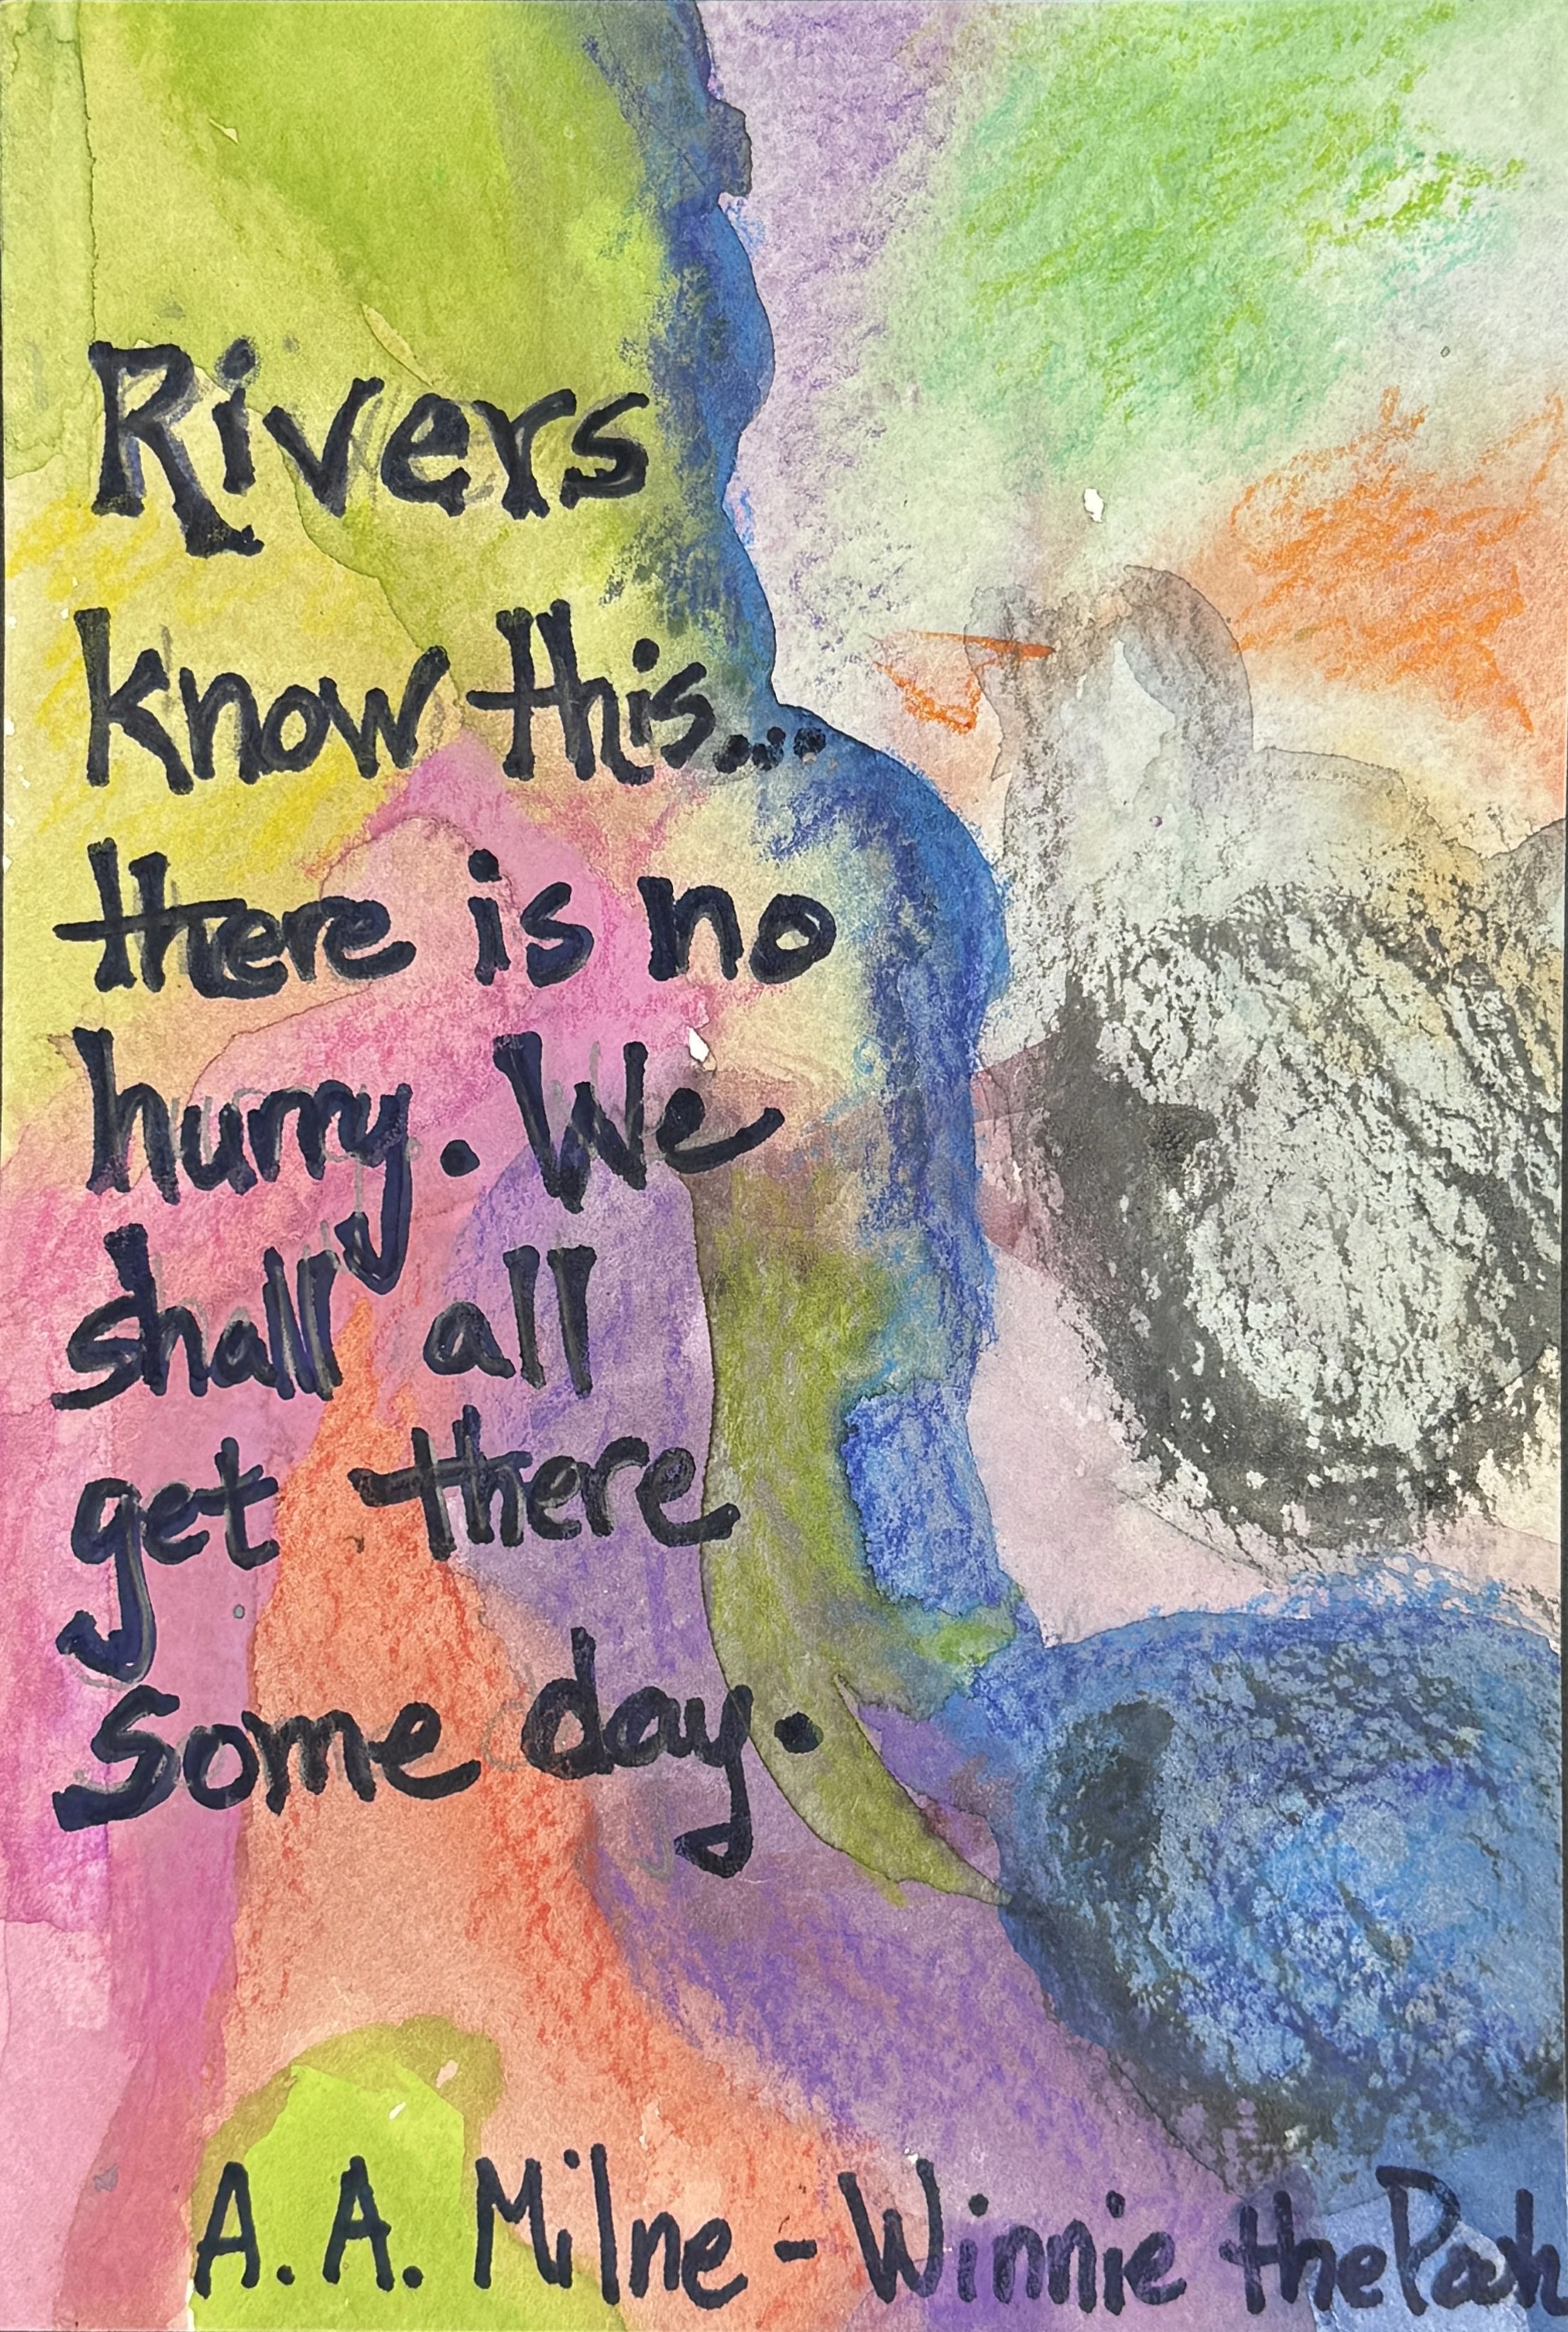
Think of it as a community-made deck of encouragement. Each participant creates one or more affirmation cards, unique reminders that might say things like “I am enough,” “Rest is productive,” or “Your voice matters.” And sometimes, the cards get cheeky. One of my favorites from the last session was: “You don’t pay my bills.” Instant Destiny’s Child nostalgia! That is the beauty of it. Affirmations can be soulful, funny, bold, or tender. Together, they form a collective well of wisdom and humor to draw from.


Supplies You Will Need
Watercolor paper or cardstock (3×5, 4×6, or 5×7 all work)
I like to premake watercolor-washed and pre-cut cards
Pro tip: If you are photographing or scanning for a digital deck, keep the card aspect ratio consistent. Cards can be different sizes, but they should all share the same ratio to look uniform when compile
Markers, gel pens, and paint pens
Colored pencils
Black markers for light backgrounds and metallic or light pens for dark backgrounds
Scissors and glue sticks for collage work
Optional materials include paints, washi tape, stickers, glitter, or other embellishments
Optional: photograph lightbox if you are going to digitize the cards
Below is a walk through of my favorite supplies.
Step-by-Step Flow
So now that you have your supplies ready, here is a simple step-by-step guide to walk you through the process:
Welcome and framing. Talk about affirmations as tools for care, connection, and creativity. Share examples in multiple languages.
Brainstorm. Invite participants to think of a message they wish someone had told them or one they want to offer others.
Share design tips. Before writing, explain a few art principles to guide their work.
Creation time. Participants make their card or cards using the provided materials.
Sharing and reflection. Display cards, share them in pairs or groups, and celebrate the collective creativtrity.
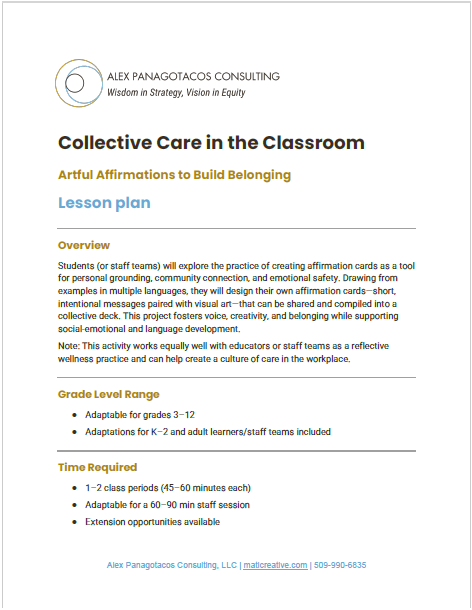
Check out the full lesson plan here.
Talking About the Elements of Art and Design
This project is also a natural way to introduce or reinforce art principles in a fun, accessible way.
Contrast. Dark text on light backgrounds, or light and metallic pens on dark backgrounds, make words readable. You can invite participants to test combinations before committing.
Space and balance. A card should not feel too crowded or too empty. Encourage participants to leave breathing room so the affirmation stands out.
Safe edges. Remind participants to keep important text and visuals away from the borders so nothing is cut off if cards are photographed or printed.
Color and emotion. Colors carry feelings. Blue often communicates calm, yellow suggests joy, green can represent growth, and red can evoke boldness. Ask, “What emotion do you want your affirmation to carry?”
Side note: Colors can also mean different things across cultures. For example, in many mainstream Western traditions, white is often associated with purity. Not only is this not true of all cultures, it can also reinforce problematic concepts of “good” and “bad.” This is a meaningful moment to pause and ask, “Why do we assume white is pure?” Conversations like this can open space to explore how cultural symbolism is shaped, and how those assumptions can uphold racism and white supremacy. Affirmation cards then become not just an art project, but a chance to notice and challenge the messages we inherit about identity and belonging.
Texture and pattern. Collage, watercolor washes, and repeated doodle patterns can add depth and movement.
Symbols and imagery. Encourage the inclusion of personal or cultural symbols such as a sun, animal, or plant. This connects affirmations to larger meaning.
Lettering and legibility. Decorative fonts are welcome, but words should always be easy to read.

Affirmation cards in process.
Putting the finishing touches on affirmation cards.
Photographing and Formatting the Cards
If you want to turn your group’s cards into a digital or printed deck, a little attention to how you capture them goes a long way.
Photographing Tips
Use natural light near a window, but avoid direct sunlight to prevent harsh shadows. Or use a photo ligh box (see below).
Place the card on a plain background (white or black works well) so the edges are clear.
Hold your camera or phone directly above the card to avoid distortion.
Take multiple shots and pick the clearest one.
Pro Tip: Use a Light Box
I personally love using a photo light box for this step. It keeps the background consistent, eliminates shadows, and makes colors pop. My go-to is this 12" Vevor Photo Studio Light Box from Target. It is compact, affordable, and makes photographing multiple cards quick and uniform.
Formatting Tips
Crop the photo so that only the card shows, leaving a consistent margin around each card.
Keep aspect ratios consistent (for example, all cards at 3:5). Different sizes are fine as long as the proportions match.
Adjust brightness and contrast so text is easy to read, but avoid heavy filters that change colors.
Save images as high-resolution JPEG or PNG files for digital sharing, and 300 dpi if you plan to print.
Optional Teaching Extension
If you are a teacher, invite students—especially older ones—to take the lead on photographing and formatting the cards. This turns the activity into a hands-on lesson in graphic design and publishing. Students can experiment with cropping, contrast, and layout, while also seeing first-hand why leaving a safe space around the edges matters when compiling a deck. This extension builds technical skills, reinforces art concepts, and gives participants ownership of the final product. Another option is work with another class or upper grades to do the formatting and printing.

Affirmation cards from a workshop at Haystack Heights Cohousing.
How to Use the Deck
In classrooms, each student contributes a card and the class draws from the deck for daily check-ins.
In retreats or staff teams, cards can be photographed and shared digitally so everyone has the complete deck.
In community gatherings, display cards as public art before compiling them into a deck for long-term use.
Why It Works
When people create affirmations together, they do more than express their own strengths. They build a shared well of encouragement, humor, and resilience that everyone can return to. The act of making something tangible, colorful, and personal helps the words land in a deeper way.
Try It Yourself
Whether you are a teacher, facilitator, parent, or community leader, the Collective Affirmation Deck is a beautiful and flexible activity. It works with children, adults, or intergenerational groups, and it always leaves participants with something tangible to hold onto. I love teaching others how to bring this practice to their communities, so please reach out if you are interested in having me facilitate with your organization, business, school, or group.
If you try this, let me know how it goes. I would love to see what your group creates!